
Though I’m not an art therapist, I’ve long had an interest in the healing potential of visual arts. on countless occasions, I’ve seen how the creation of artwork can have a positive effect on a young person’s emotional state. Allowing space for this sort of healing in an arts learning environment is central to my approach. Cathy A. Malchiodi explains her early experiences of art therapy as having ‘proposed that all art is acceptable, that there are no rules about how to paint or draw, and that there is no right or wrong way to make art’ (2007:50). In previous posts, I’ve written about how young people often come to Red Balloon with a deeply ingrained belief that the work they produce will be ‘unacceptable.’ This notion of acceptability is something I often question as it can set up huge barriers to the creation of artwork.
I try to make my lessons experimental and exploratory rather than goal-focussed. This gives students a chance to reacquaint themselves with the joys of spontaneous creation, rather than concerning themselves with achieving a specific end result. It can be a worthwhile experience for students to begin a piece with no idea of where it will lead to. If a young person begins a piece of work with no preconceptions then there is little possibility of ‘failure.’
Though it has to be handled with great care and sensitivity, it is possible to provide instruction in the formal qualities of art alongside this freeform ‘therapeutic’ approach. By way of example, the pieces below were created in a lesson that introduced mark making, expressive line work and page layout.
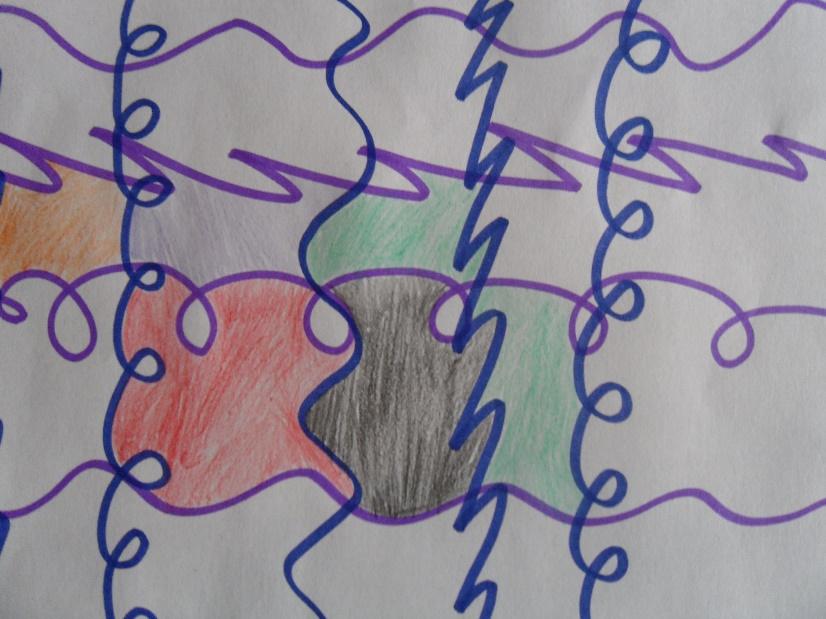
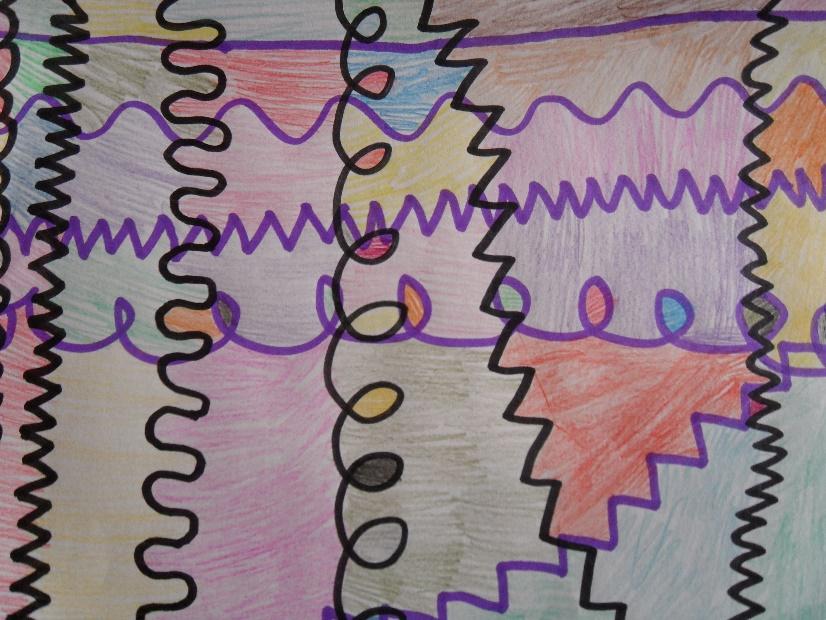
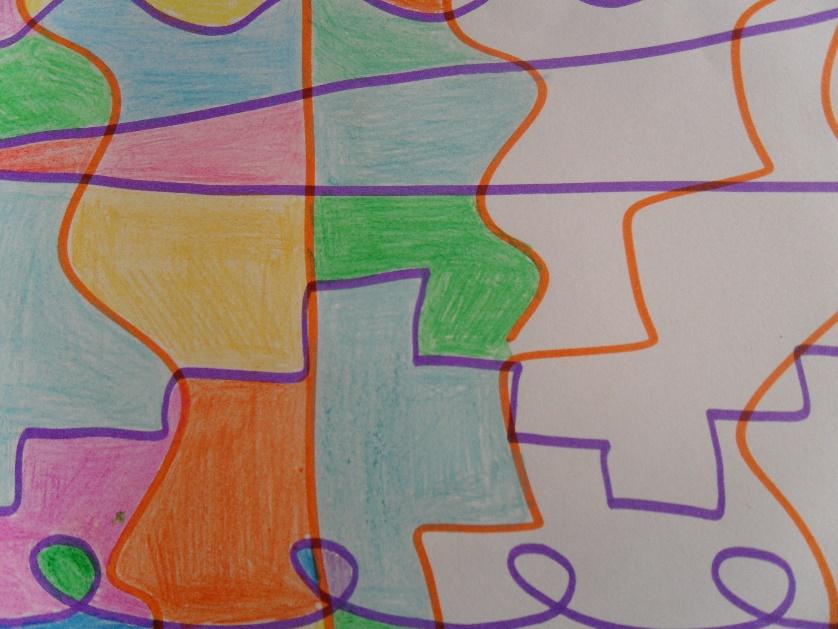
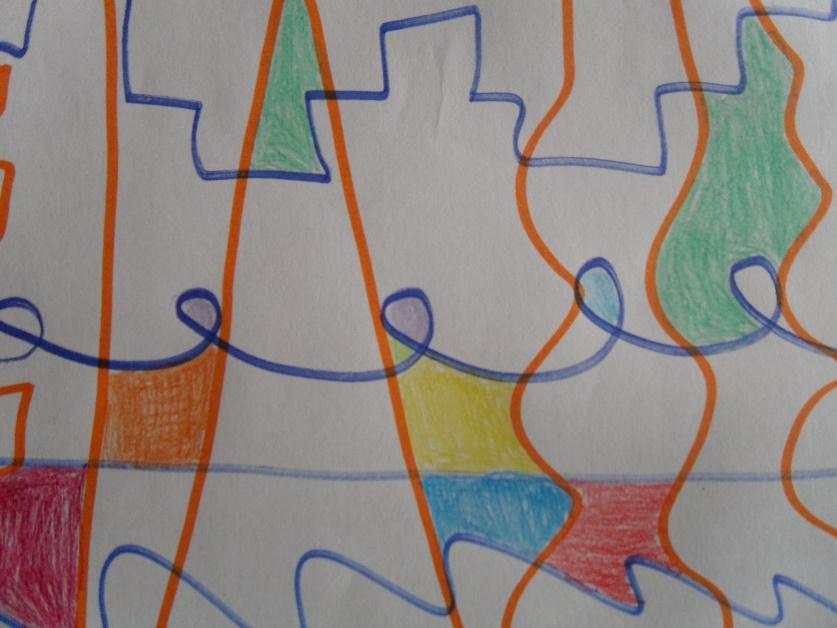
Students chose two different felt tip pens to make criss-crossing lines across the page. They were instructed to make their lines as varied as possible. Each student had soon created an irregular grid in two different colours. The young people were then asked to change media to pencil crayon, a material which would give their work a different level of colour density. They then began to colour their grids in. Some young people chose to leave a lot of white space on the page, others chose to colour in every available section of the grid.
To finish off the activity, students compared their pieces together. I often utilise peer critiques such as this, and find it especially powerful if the session has been exploratory in nature. Looking over each other’s work, the young people could see how varied each piece was in terms of line, space and colour.
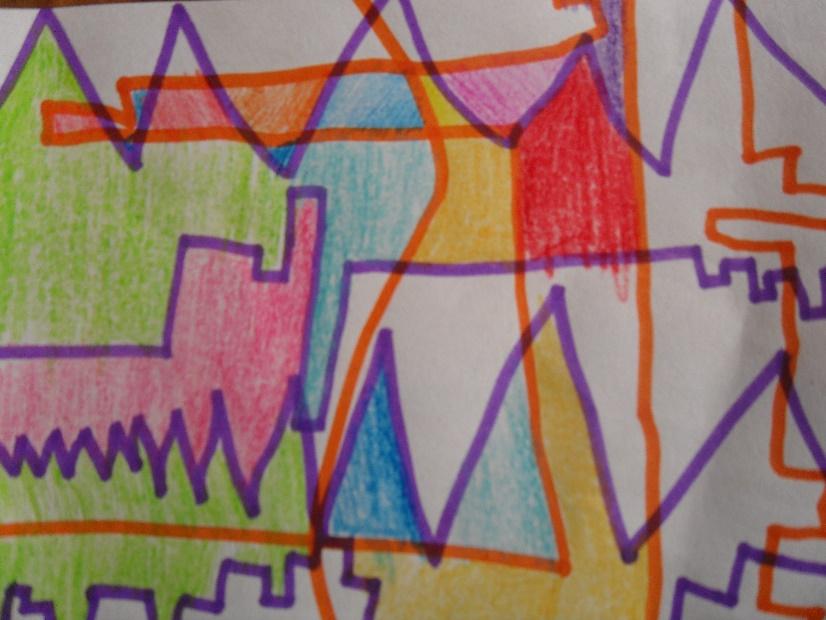
The follow up activity involved a switch to wet media and non-traditional drawing materials. Students were given pots of wet indian ink and clay tools with which to make marks and draw lines. Again, students had lots of fun with this – they quickly learnt to trust in the process and the materials. From time to time, I reminded students not to overthink what they were doing and instead lose themselves in the activity. Below are a few examples of some of the work that was made.
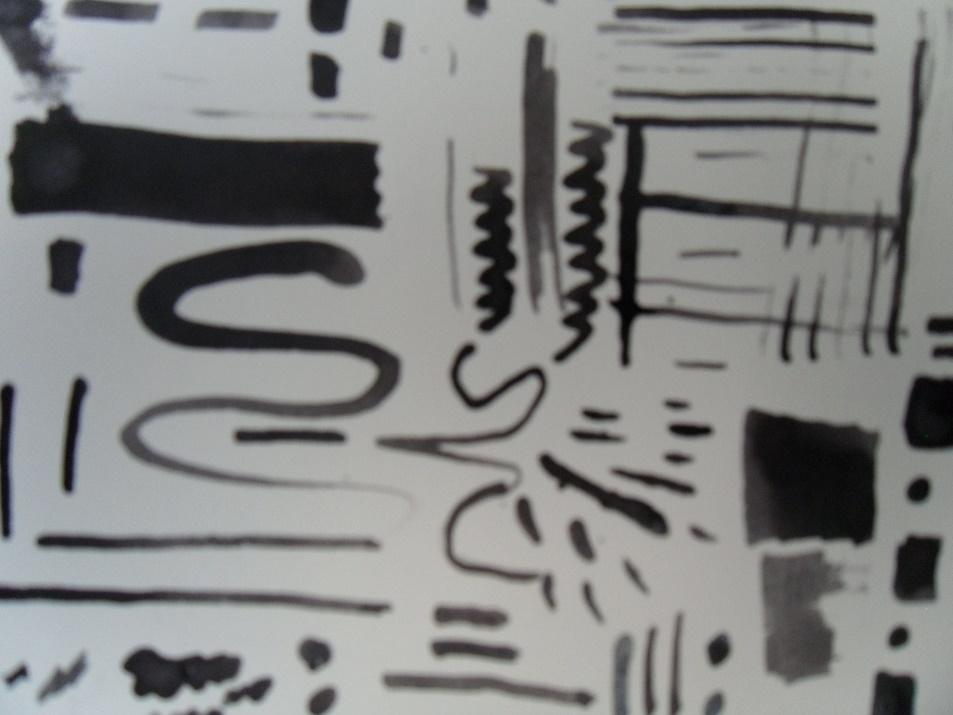
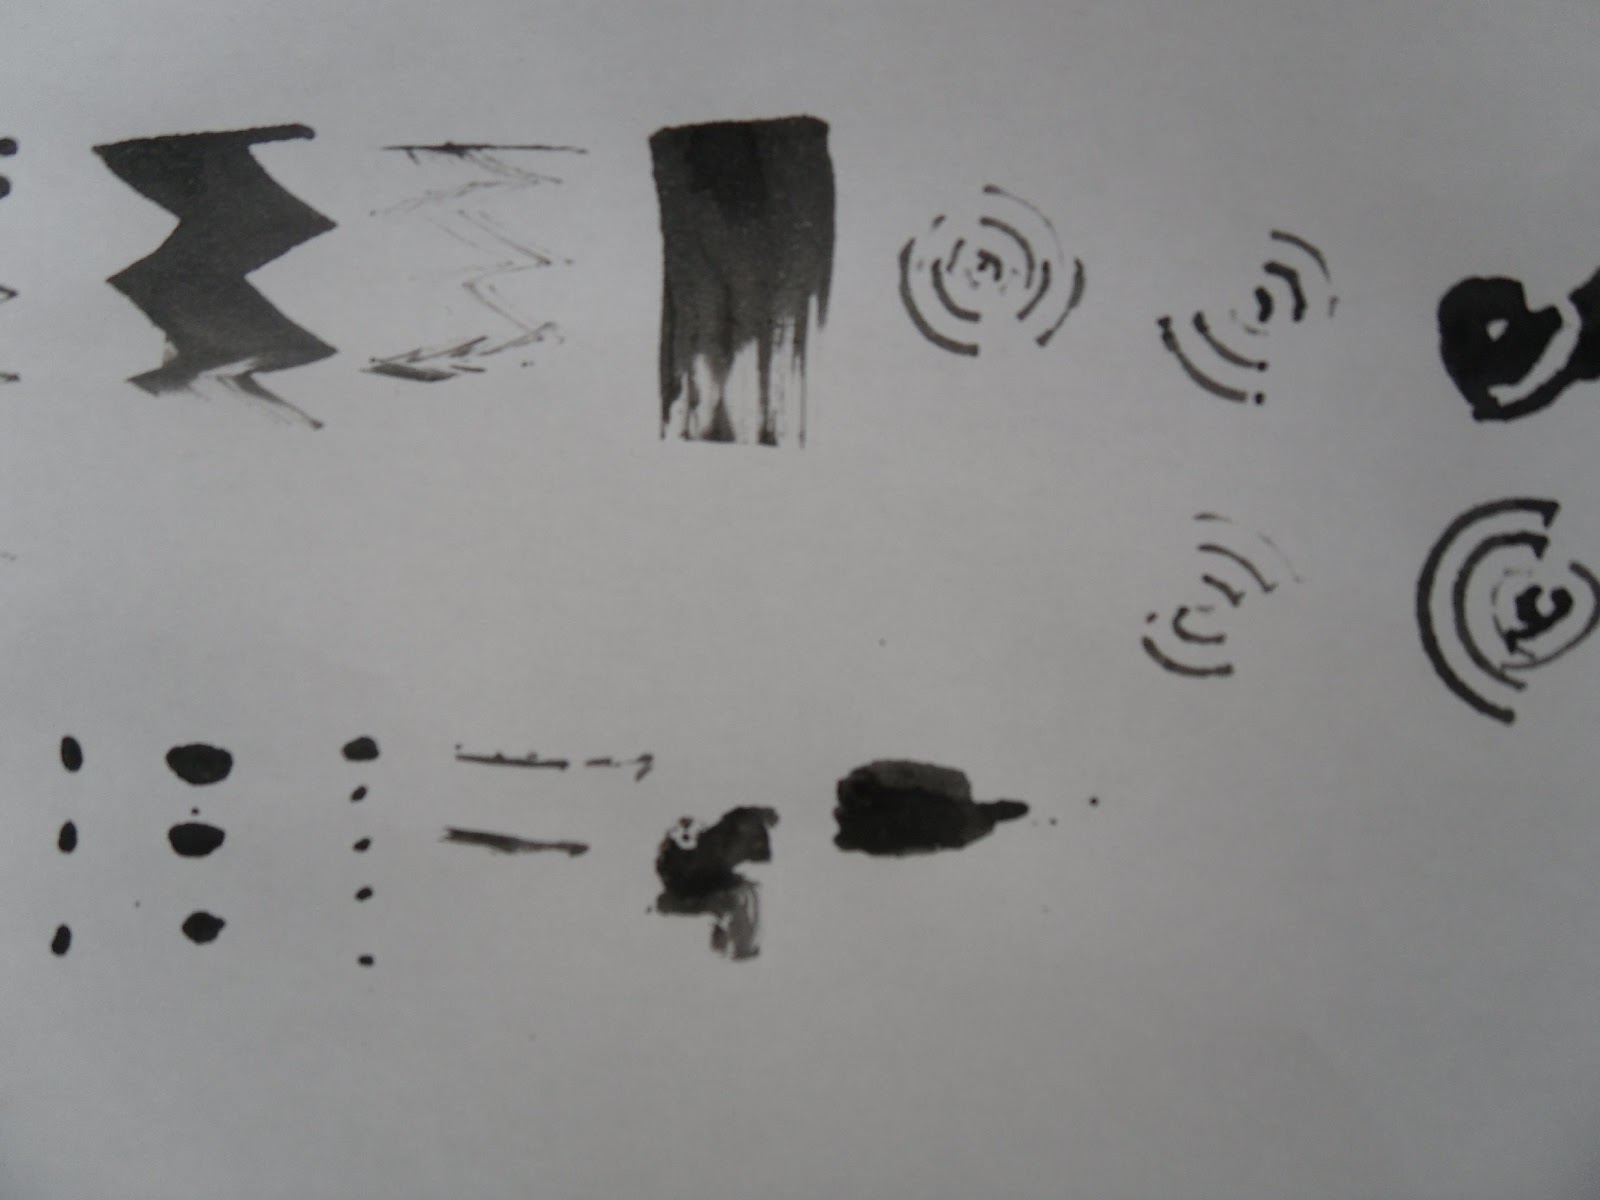

After the practical work, students were then asked to offer feedback on each other’s pieces. They were able to recognise that some people had produced highly ordered work, whilst others had been more flowing and expressive. In doing so, they noted the differences in each other’s aesthetic sensibility. This was my main learning objective for the lesson, I wanted students to be able to notice and discuss differences in artwork, rather than judging it as ‘good’ or ‘bad.’
References
Malchiodi, Cathy A. The Art Therapy Sourcebook, McGraw-Hill, 2007.
No comments:
Post a Comment